

Hello there friends.
Well.
I wish I could hear your voice through this screen because I really would like to know how you're doing. It's been a while since I've been here and to tell you the truth, even though today's post is about my guest bathroom, the real renovation has been taking place inside me.
But that's a whole other post.
In the meantime it occurred to me that the last update you got on my guest bathroom was when the plumber accidentally cracked my tub -the second tub to get damaged on this project.
I know, after all that delay and work and I forget the REVEAL part. What kind of DIY-blogger does that, right?
So today I thought I'd get my act together and show you some photos. I'll start with THE inspiration piece that motivated this entire bathroom renovation.
Here it is:


I found this corner cabinet (seen in two pieces here) in an antique store, buried under piles of Indian blankets and dusty magazines. I had no idea if it would fit into my bathroom corner but I lugged it home and spent hours sanding down the black mahogany stain.
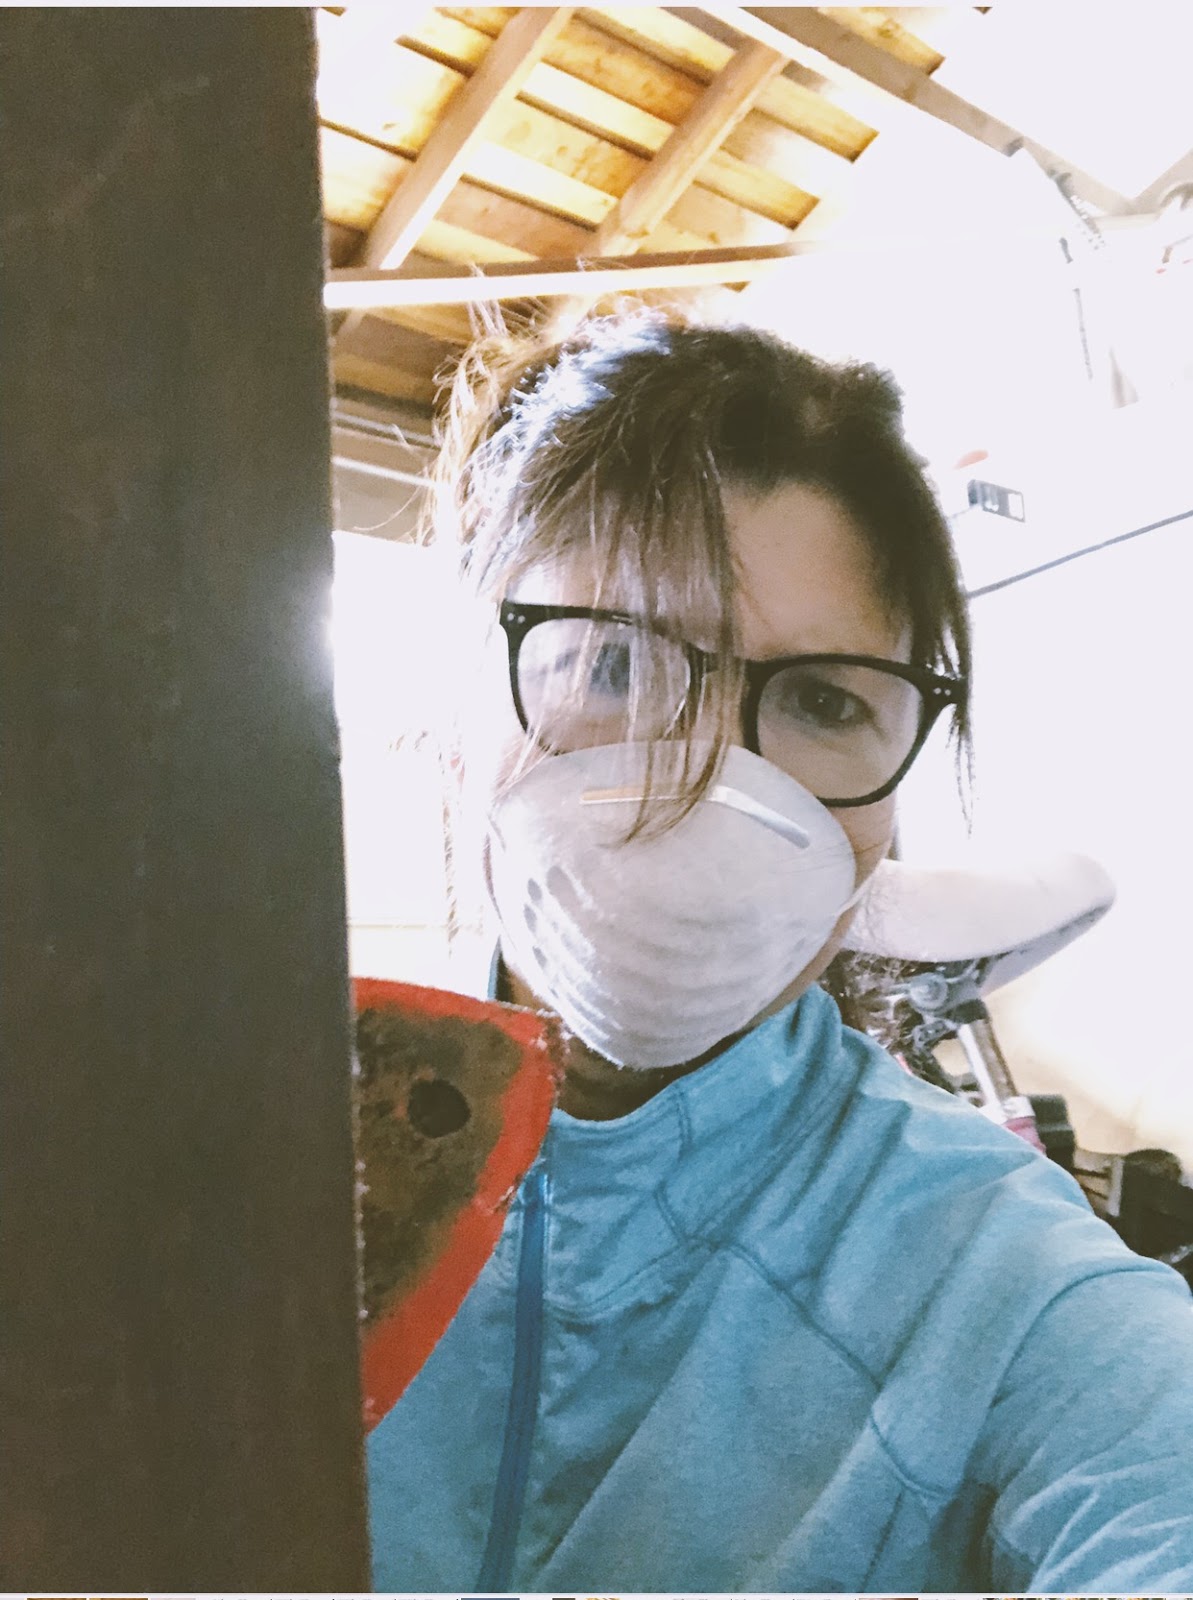
Here I am, in pre-pandemic days already with a mask and my palm sander.
(I sure miss those glasses, do you lose your glasses a lot too?)

After hours of sanding the outside AND inside, I discovered a really beautiful wood underneath, and I was so excited. Although I still didn't know if it would fit because the bathroom hadn't been demo'd yet.
But I just "felt" like it would all work out.

Here's the BEFORE
As you can see there's nothing wrong with this bathroom.
Just dark and dated.

I kept the floor plan and original window to stay in budget, but I traded the miniature tub for a deep soaker that would fit into the space. I think this was tub no. 3.
If you're interested in that whole story-warning, it's long- you can go HERE.

BEFORE

AFTER

In the end I went with the classic white subway tile and marble floors. And I mixed my metals on my lighting fixtures and faucets--a brushed gold and polished chrome

The only work I did in here was install the wood ceiling, the baseboards, the trim and paint. I found this rustic-looking wood product for the ceiling from Lowe's-- that was so light and easy to work with. And I loved the warmth it brought to all that white.

How do you like my cut in the baseboard...?
I'm getting better with my jigsaw.

When Claudio my electrician came by to mark the spots for my lighting he told me the bad news, the light switch I thought could be moved to make some space for my cabinet could NOT be moved.
So here's the bottom part of the cabinet shoved into corner as far as possible. It was going to be tight but.. I still felt positive.

Once the pedestal sink got installed I was finally able to bring the two cabinet pieces into place.


And although it was a tight fit, I was happy.
But I had another problem.
Once the cabinet was under the wood ceiling it took me two seconds to realize the shades of wood clashed terribly. I was so bummed. As much as I loved the wood on the ceiling I knew it needed to be white so my cabinet would stand out.

Believe me. After all that time installing this ceiling and loving the look, that first brush of white paint was SO hard. But I've learned the key to that first nervous coat of paint, is don't hesitate.
Just do it. That's my painting motto.

Afterwards I knew it was the right decision.

It's hard to see in this shot but I ordered and installed a shower tract into the ceiling, I thought it was a cool touch.

I let Jim pick the mirror out for the fun of it and he picked this "rustic" white one from Houzz, which is actually not wood at all. But I like it. There are those rare moments when I do want his opinion, wink.


This is very UN-designer-of me. Because I know the first thing to be replaced on old furniture is the hardware (usually with those trendy, long handles) but I didn't have the heart to remove these primitive little wood thing-ees. They're so cute.

Another BEFORE shot

AFTER
Honestly, when you're inside the bathroom it looks like it fits perfectly. And there's a remarkable amount of storage.

BEFORE

AFTER
I just love seeing before and after pictures and if you do too, we're starting renovations on our Master bath on the 20th and I'll share my pictures with you soon. It's small for a Master bath, so I've made some selections that will make it feel larger. At least that's my hope.
Sending blessings of love and health to you,
(don't forget to wear your mask)
xoxo
Leslie
sharing this post with friends:
