Pages

Thursday, October 27, 2016

Becoming the person you are meant to be.


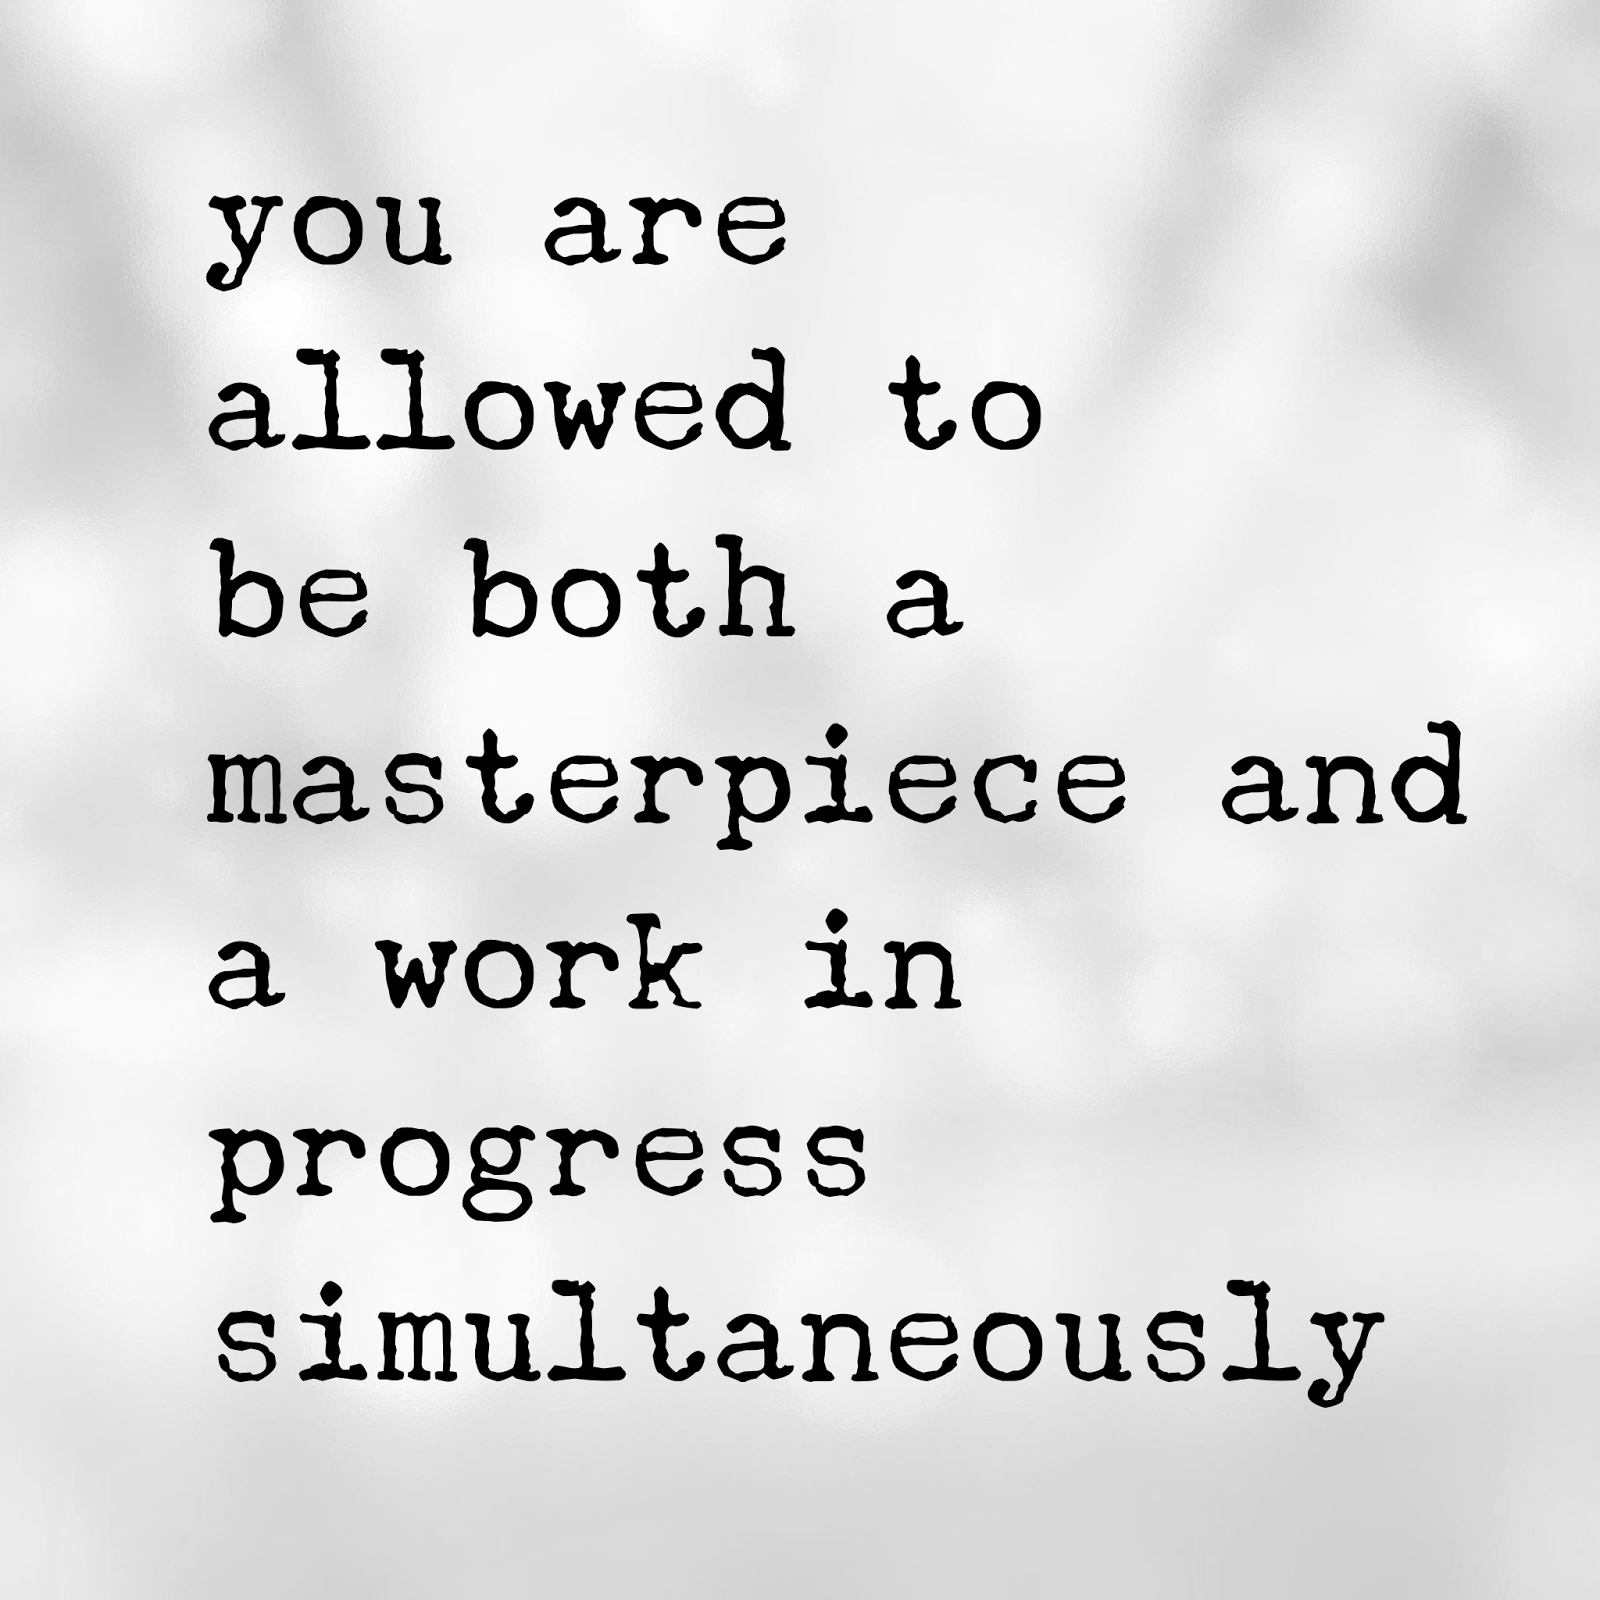
Lately I’ve been feeling stuck.
In the months following my yoga teacher certification, I’ve watched as fellow classmates have gone on to teach yoga classes in various studios, and I’ve seen the other half—me included—settle into the ebb and flow of their personal practice.

It’s not that I don’t want to teach yoga.
But I’m aware that teaching intense hot vinyasa classes at a studio filled with people half my age, doesn’t feel like the right decision. I’m looking for my sweet spot. And while I haven’t yet discovered the yoga audience that’s meant for me, my gut tells me it’s out there somewhere.

Or maybe not.
This is the interesting place I’ve found myself these last several months. While there’s nothing noticeable from my outside, lately my life as felt like that of a sleeping caterpillar, hunkered down and living with the unsettled feeling of ‘not knowing’ what exactly is next.

One thing I didn’t plan on was how powerful it would feel to venture outside my comfort zone. Getting through that teacher training was the equivalent of plopping myself into a maze of my insecurities and making me find my way out. And it’s left me with taste for more of the same; more growing and testing out new waters.
This is the truth about stretching yourself into new places, you can never truly go back.

And it’s a mindset that’s left me grappling with deeper questions about my future.  

Am I living my life to the fullest?

And more specifically,

Is there something I should be doing that can add value to the lives of others?

Yes. That’s really it.

I guess I’m talking about a sense of purpose, my reason for being here.

For a mother of a 24 year old and 21 year old it’s not a surprising question, in fact it might even seem timely. But now that I’ve floated the question out there, the empty silence has left me feeling fidgety. Curious and open. It’s like waiting for someone to arrive at your door, only you don’t when exactly they’re coming.

Then a few weeks ago I had this experience.

I found myself sitting at a conference table inside a towering glass building, answering questions about my past lives. It was an interview, and the questioner was curious about the years I worked as an eating disorder therapist, my recent yoga training, and about my blog, where I get to express some of my creative side.

The simple act of sitting with an interested person and scanning over my life felt powerful; and afterwards I instantly wanted to ask everyone in my vicinity this one question.

When was the last time you paused and examined the different phases of your life? 

Because this is what I realized; the act of weaving together your life experiences will tell a story about how you shared your strengths and beliefs and gifts with the world. Only most of us never really stop and realize this is what we’re doing when we’re making choices.

That afternoon at the conference table stopped me in my tracks. At a time when I had felt like I was losing my mojo... and meandering through my life---it focused me back on my natural interests and personal qualities that have led me toward the kind of work I’ve done over the years.

Without realizing it, it gave me a better sense of direction about my next step.

Have you ever felt yourself walking around with a quiet desire to grow, but not exactly sure where this will lead you?

Or maybe you didn’t plan on facing a lot of new growth and experiences, maybe you’ve been thrust forward by a painful loss or a difficult transition that has stretched you without your permission. Perhaps you're in the midst of an ordeal that's left you pondering your immediate future.

 Think about this. There are pieces of your truest self to be found in every big, meaty life decision you have made. No matter the circumstances, no matter the eventual decision you made, they tell a story about who you were at that moment in your life. And most important, you can learn something about who you are right now.

 When you step back and examine your personal story for insight, when you remember where you have come from, it becomes easier to identify the unique gifts and experiences you carry around with you everyday.
Be in touch with your value.

That my friends, is empowering.

Part 2: the exciting thing that happened when I leaned into my struggle instead of away.


Please let me know if you can relate to this post.
I love hearing your thoughts.


Namaste,
(the teacher in me honors the teacher in you)
xo
Leslie

I'm sharing this post here:
Feathered Nest Friday

Monday, October 17, 2016

the simplest Halloween centerpiece ever


I can't believe Halloween is right around the corner. 


This used to be the time when I'd be running around at full speed getting all my decorations ready for our annual Halloween party. I know some of you remember those parties at our old home, boy did we have some great times.

 Not only was the actual event a blast, but I loved the chance to create something new to add to our massive collection of Halloween décor. 

Sigh.
These days I've toned down my Halloween decorating but I still like to do something creative on my blog for Halloween.


Do you remember my dinner party I styled a while back for my ghosts? 

While this year it's all about keeping it simple.
In fact this might be the easiest Halloween centerpiece ever, in case you're entertaining at your house or even for a cute hostess gift.


You only need three items to actually make it (although I added a few others).

I bought 18 red roses from Costco for $13.00
I used a small brass vase.
And I a stalk of these flowers with little round thistles.

I'm sorry I can't remember the name, but if you know it please share. Using the real ones will give you the best effects, but I couldn't find any around here, so fakes would have to do.
sprayed black...
When using real ones they will stand up better in the bouquet, so you have to cut them with a longer stem if you can....so their spiky heads pop up in the roses.

Tuck some dried moss so that it spills out from around the  entire vase, add as many spiders as you like and one black crow coming out on top....
and it's done.


Are you dressing up for Halloween this year?


xo
Leslie

Sunday, October 9, 2016

Before and After pictures and 3 Fall Makeover Tips....


Hello friends.
The other day I shared this picture on Instagram; it was two of my recent thrift store finds that I'd transformed, and afterwards I thought it would be fun to share more Before and After pictures with you.


I think it's fun to see the transformations that can happen with those cheapo items that others pass on, don't you?


Here's a few pictures from a little Fall makeover I did on my front door. I wanted to switch my color scheme this year without spending much
(sound familiar?)
and here's how I did it.

Tip 1: Shop those thrift stores


Before

It's hard to see the cool looking basket in this shot but that's why I paid a whole $5.99 for it.
Plus, all those fake leaves and berries and pumpkins. If you're a crafter you know how those artificial fall stems add up, in fact when I was in Hobby Lobby I saw tiny, fake pumpkin stems for $2.99 each and look here, 4 big ones ready to be sprayed for Halloween.
Ok. Enough said, I snapped this up at ye old Goodwill store. 


I completely dismantled it.

And here's my After
...now filled with real pumpkins, moss and pinecones.
(See what I mean about that basket?)

for this year's door...

I decided to switch from last year's traditional orange shades and go with mostly white and muted colors.

So I decided to use this plain wreath I already had for my door.
My inspiration?
  1. I found the last two stalks of cotton at Michael's. 
  2. I added a few stems of white berries 
  3. ...and a pack of little pumpkins. 

I chose the stems for those silvery leaves and the shades of cream...
helped along with a little Chalk paint...


First thing I did was to cut up all my stems and add them around the wreath.

I didn't buy any flowers, instead I tucked in some dried hydrangea from an old flower arrangement
(tip: save your hydrangea!).


I made a quick Welcome sign
that I cut from some leftover wood.


After I added a few leaves from my new 'thrift store collection'... it was finished.


Tip 2: Use Paint


Next I re-painted last year's big Welcome pumpkin (from Michael's) so I could put it inside an urn next to my door. I originally had this pumpkin in a pot and it had bleached out from the sun so it was time for a paint job anyway.
More chalk paint...which I blended with a dab of leftover yellow for a touch of realness.


After


This year I didn't have time to hunt for the perfect white pumpkins so I just bought the cheap orange ones from Home Depot and spray painted them. Afterwards I touched them up with chalk paint because I noticed the spray paint came off a little too easy.

I added more of the raffia inside this old window box that I planted with white Mums....


Here's the After


Tip 3: Shop your house

I know how it feels. Sometimes it's hard to start a new project without buying something new. Even I started looking on Craigslist for a old bench I could use for this front area until I remembered a rickety old chair, an empty window box and a few urns in the garage.

I hosed the chair down and stuck it next to my front door with these thrift store rain boots I sprayed with gold paint and planted with Mums

These boot were originally pink and black....


I'll probably add more color but for now I'm using white Mums...

and pots of Dusty Miller with white pumpkins...
Well, I hope I gave you a few ideas you can use
and whatever decorating project you tackle, I hope you remember to relax and not get hung up on those little imperfections.
It's all about enjoying the process, don't you think?


I'm so grateful for your visit.
xo
Leslie
Related Posts Plugin for WordPress, Blogger...