


this summer with my boys
My Dad is 76 years old and for those of you who've followed me for awhile you know when it comes to construction, he can do almost anything. He hung drywall for 40 years and if you've ever tried to hold a piece of drywall over your head with one arm you'll know something about his robust view on life. Lucky for me, my Dad has been my DIY teacher around my fixer-upper these past years and I enjoy sharing what I learn from him---with you all.
Like this little project.
So I'm wandering through a antique store when I see this cover of a 2015 Country Living magazine, and I became instantly smitten with the rustic Christmas Tree box on it.
For a buck I bought it and thought, "I gotta make this!"
Well at least I planned to.
But the last weeks in November were so hectic that I ended up showing the magazine to my Dad when I was home for Thanksgiving and gosh, it was so darn nice to just sit back and watch him make this.
Here's the final project:
(you can see more pictures on my Instagram)

If you look my magazine picture you'll see that the wood looks dry and old.

So we used basic 6 inch Redwood fence pieces from Home Depot.
After Dad measured the standard size of a tree stand he decided to make the "box" 24 inches around and we both decided to skip the extra step of adding a bottom.
I stood around talking and watching him and I'm glad I did because of the little things I keep learning.

He basically made 4 panels (here's two of them).
The height of each was easy, he just stacked the three 6 inch redwood pieces together.

In addition he cut these little pieces (8) to fit on both sides of two of the four panels.

He used wood glue and his nail gun to connect the sides. Here you can see how he fit the three wood pieces into one finished panel. When I saw this step I understood the purpose of those strips of wood.

Here's a picture of the last panel being connected:

About this time I took a video of my Dad working and I asked him, "Have you made one of these before Dad?
and I have him on video giving a classic answer,
"Oh come on, ...it's just a box."
That pretty much explains why I'm a DIYer. I usually begin each project not having a clue how it's going to turn out but my Dad has a way of making everything seem totally do-able. No matter how complicated it might look to me.

Ok. As I mentioned before that we chose not to put a bottom on this box to make it easier to handle--plus this was the day after Thanksgiving and we were short on time.
The last step was adding these metal strips on the sides.
I followed my Dad to his backyard shed and he showed me the different screws I could use on the strips. I still have no idea how to find the right ones in a Home Depot, but at least I now know that there are metal screws that exist. :)
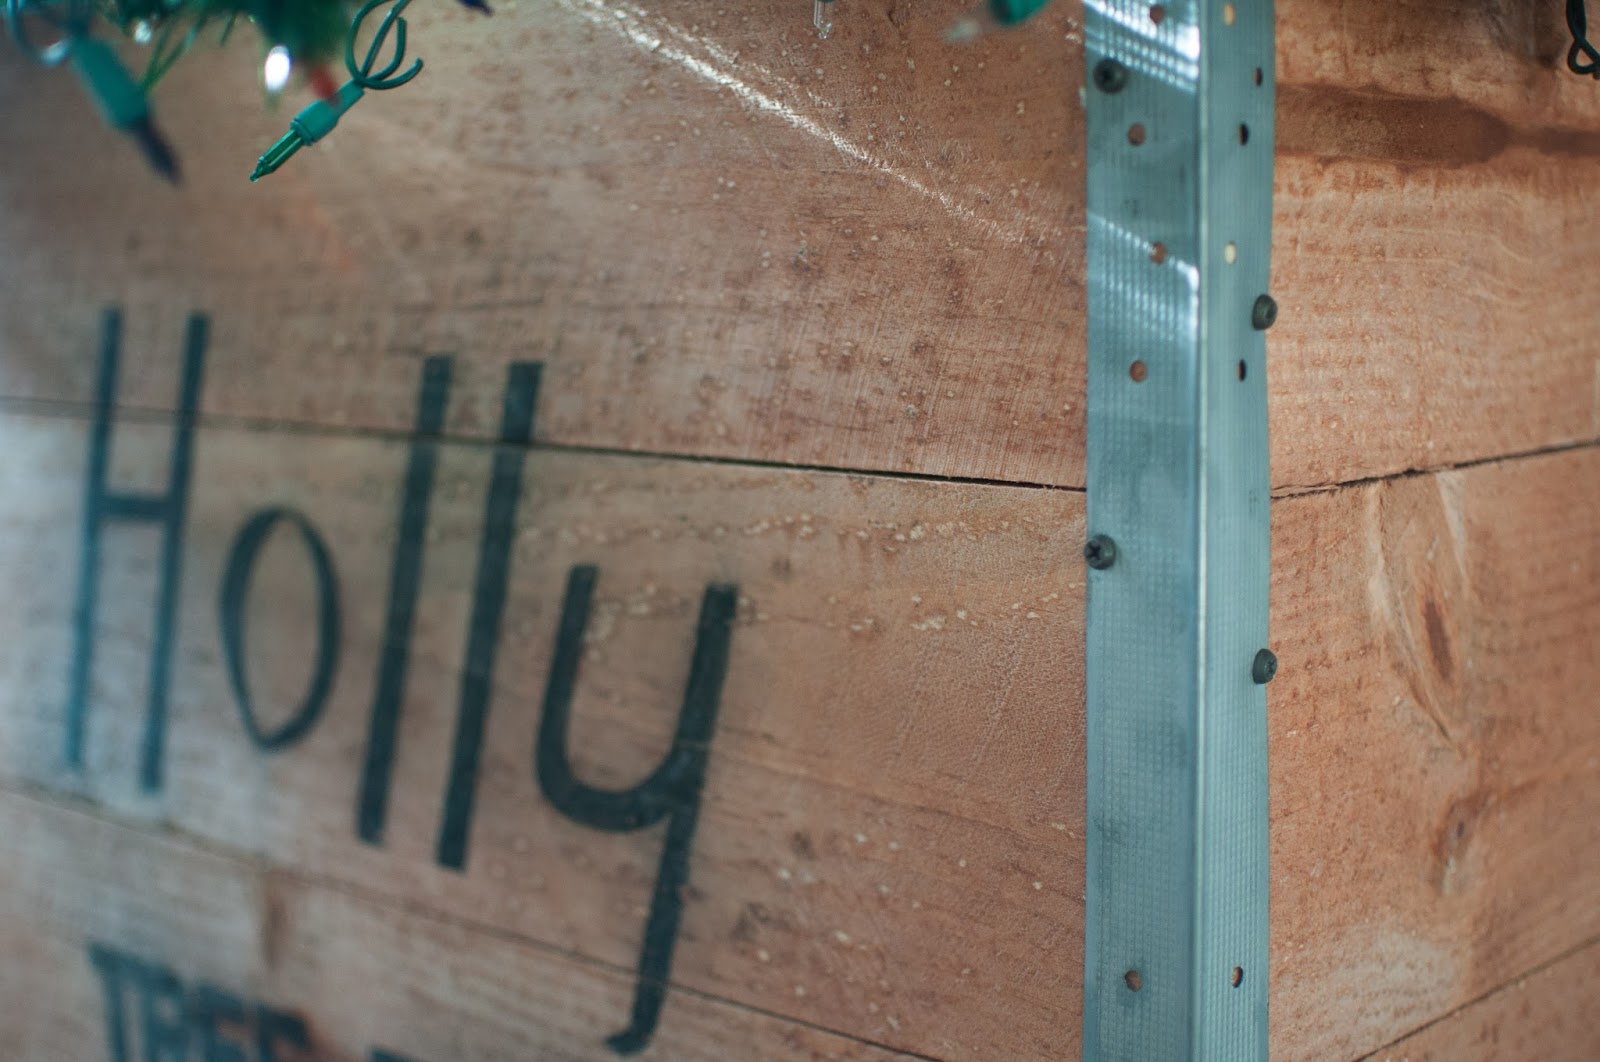

Once home I hand-painted the letters Holly Tree Farm on the front and decided I didn't any stain for this wood.
This would age nicely in our attic and the best part of this project is the time I spent hanging out in the patio with my Dad... while he made this.


Well, I sure hope you enjoyed this little tutorial.
Thank you friends for stopping by.
xo
Leslie